

How To Install Universal Power Window Kit
The following article shows the installation of a Colibri universal power window kit in a 1996 Chevy Astro. Every bit with whatever universal kit, there are many unlike ways to accomplish the same task. The following represents one of those ways. Also, please be enlightened that every car or truck model is different and will require different installations.
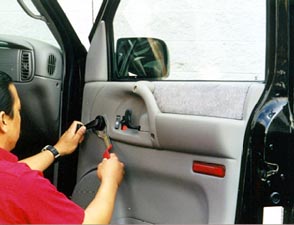
The start footstep in installing the Colibri ability window kit is to read through the instructions! After this, the window creepo and other trim is removed from the door. This installation was washed by Vince at A1 Electric & Speedometer in Gardena, California.

The door console is held on past press in clips around the edges of the door. Using an approprate tool the panel is pryed from the door and removed. Our favorite tool for this is a bent scraper with a minor V cut into the bract.
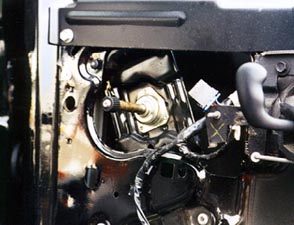
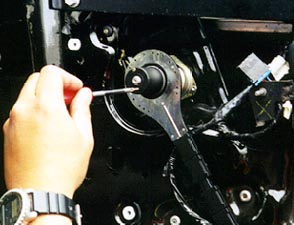
The approrate shaft adapter must be establish in the kit and pressed onto the crank handle shaft. Be sure to choose 1 that fits snugly over the splined shaft.
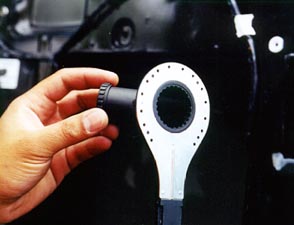
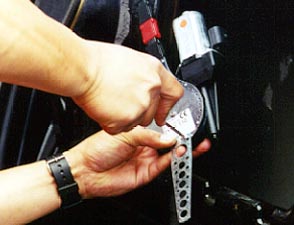
A large adapter is chosen and inserted into the gearhead. Utilise an adapter that will place the gearhead every bit close to the door as possible. Multiple lengths are given in the kit. The metal part of the gearhead must face out.
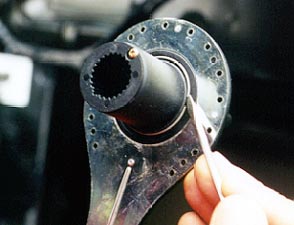
The adapter must be attached to the gearhead by inserting the wire ring into the groove on the adapter. The center adapter is then inserted into the big adapter and attached with a screw. The photo shows the center adapter already installed. Make sure that the pocket-sized notch in the outer adapter matches up with the notch in the center adapter.
The gearhead assembly is then placed over the adapter on the creepo handle. Brand sure that the notch in the center adapter and the small-scale adpater line up before putting the screw in information technology.
With the gearhead mounted on the shaft, move the motor end effectually and find a spot to mount information technology where information technology won't interfere with the door panel or other moving parts. In many vehicles it volition be necessary to trim away some sheet metal to accomodate the motor. Adhere 2 brackets to the motor housing in suitable positions.
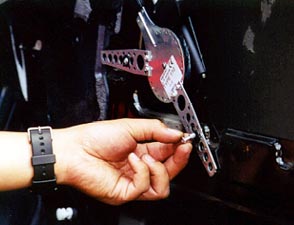
Curve and cut brackets as necessary, then install a rubber grommet and spacer into the advisable hole on the subclass. Using a 1/8 inch drill, drill pilot holes in the door and attach motor assembly to the door using sheet metal screws.
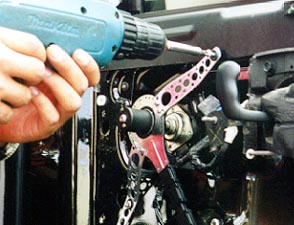
Attach brackets to the gearhead and mount it to the door. Bend and cut brackets to fit and attach to door using grommets, spacers and screws. It is possible to apply just 1 subclass, merely we prefer using 2 for extra force. Remember, the better the installation, the better the unit of measurement will perform!
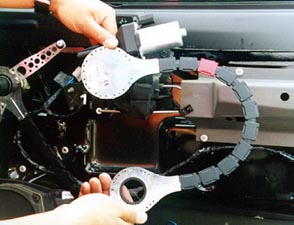
Every bit you can see here, the Colibri has a flexible drive unit. The drive machinery can exist bent to conform to almost any door. We were able to mount the Colibri in this door with simply a small bend in the cable.

Source: https://www.a1electric.com/colibri1.htm
Posted by: henrydonexer.blogspot.com
0 Response to "How To Install Universal Power Window Kit"
Post a Comment